I used my Cricut to create perfect rectangles.
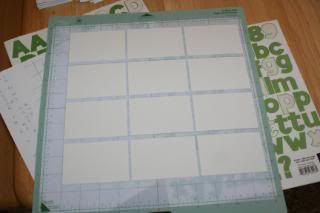
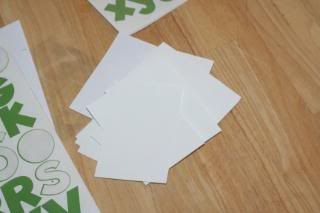
Using letter stickers I started making the actual letter stacks making sure not to get my stacks out of order.
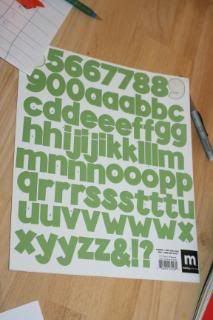
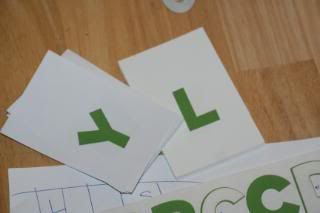
Then using contact paper I "laminated" each of the rectangles so they would withstand being used.
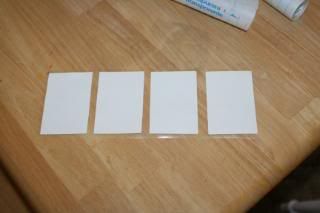
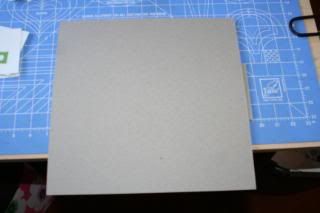
Figuring the actual construction of the reader was almost as difficult as figuring out which letters to use and how. But I finally decided on a "tent" design. Using 12x12 heavy weight chipboard, I cut 4x12 strips.
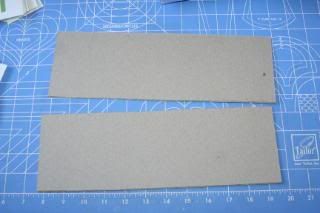
I then took black card stock and covered the back and front of my chipboard pieces using Modge Podge.
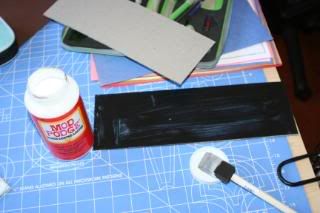
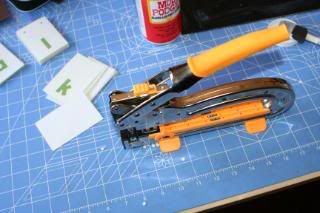
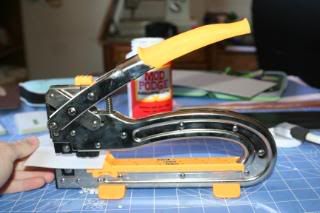
While the Modge Podge was drying on the stand I used my Crop o'Dile Big Bite to punch holes into the top of my letter cards, measuring to make sure that they were even. I punched 2 holes per card.
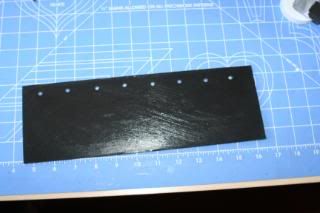
I then laid out four of my letter rectangles across my stand so I could decide where the holes should be. I then punched the holes in the stand.
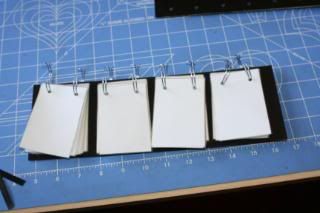
Using one inch Bind-It-All owire I cut 8 rings off. I then used my BIA to Bind all of the rectangles to the stand, making sure that the stand would stand up and the cards could be flipped.
Then using 2 lengths of ribbon I ran it through the eyes of 2 buttons.
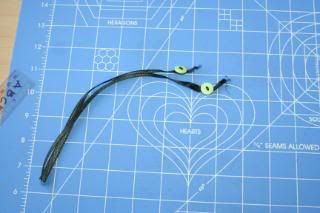
I then punched a small hole in the rear stand base and fed the ribbon through, tying a knot. I then cut a slit using my Crop o' Dile just big enough to slip the button through so that when the button was up right it would not allow the button back through the whole. The length of ribbon was just big enough to create the "tent" that I was hoping for. Now Cameron can flip different letters to make TONS of vocab and sight words!
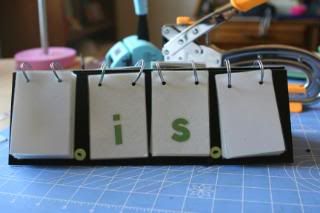
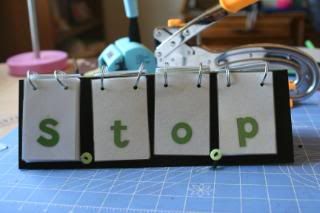
Also, you can push the buttons back through the holes and flip the rear cover around to protect the cards while it's not in use.
2 comments:
very cute!!!
You are amazing Kammy!!!!
What don't you do??? cook,bake,garden,work,create. I am glad you are my fried. I look forward to seeing other things you do and learning!!
Post a Comment