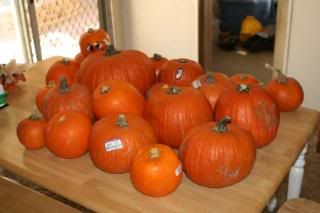
My first choice for pumpkins were "sugar baby's" or "pie pumpkins" these differ from jack o' lanterns because of their size. They are also more dense and sweater. You can eat any kind of pumpkin, but "pie pumpkins" are the best. Sometimes grocery stores will have a few of these on hand, but more often then not, these little guys are the ones that are usually painted.
I finally scored a couple of days into Nov and founds pumpkins, small jack o lanterns, on clearance at Fresh and Easy. I had scored some painted "pie pumpkins" at Staters and Walmart, and even though I was happy to have them, scrapping the paint off was kind of a pain.
So here is my pumpkin stash
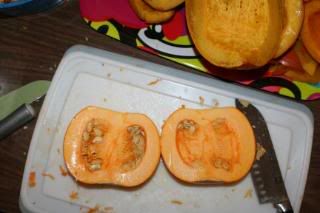
I cut the pumpkins in half and de-seeded them. This particular guy is a "pie pumpkin". You can see that the wall of the pumpkin are thick and the seed cavity is shallow with not many seeds. You can also see that it's a bright/deep orange as opposed to a yellowish orange color. I scraped out the seeds using my ice cream scoop.
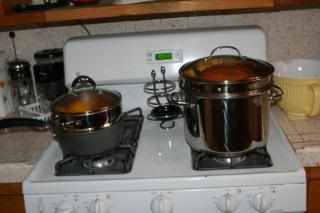
We have a relatively small kitchen, so I used two steamers on the stove top and a pan in microwave. The microwave is considerably faster, but I can't steam as much at once. You need to cook your pumpkin till fork tender, as shown in the second picture.
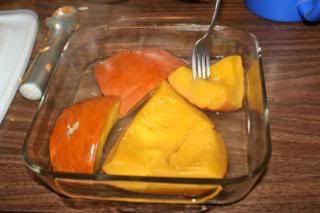
I was steaming it quicker then I could peel or slice it, so I was making a large pile of pumpkin on a tray. This also allowed the pumpkin enough time to cool before I handled it.
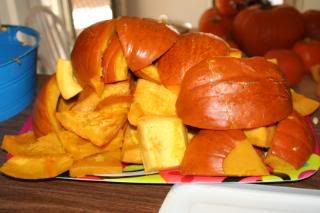
I took my chunks of steamed pumpkin and sliced it into slices. I was able to take each of these slices and remove the skin with just one slide of the pairing knife.
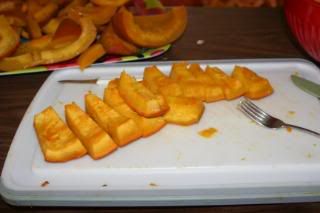
I then cut it into large chunks and placed in a bowl. I filled the bowl before I started filling jars.
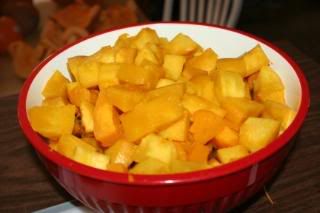
I must have gotten tired, or messy and didn't pick up the camera again. So I don't have any pictures of the pumpkin in the jars. I used quart mason jars I filled each jar with the chunked pumpkin. I then filled each jar with water and a little canning salt. Then using a caning spatula I scraped the sides of the jars trying to release any air that could be in the jars. Once all the air was out of the jars, I placed on the flat lids then hand tightened the screw lids. 7 quart jars fit in the pressure caner at one time. They take about 2 hours per batch.
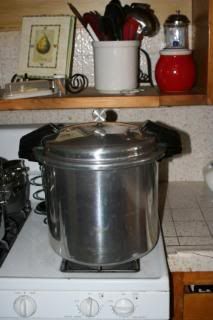
I ended up with 35 quarts of pumpkin!Everyone asked what I was going to do with so much pumpkin. We make a lot of things with pumpkin and well after seeing this news report, I might be able to make a little money next year!
1 comment:
....and I would be one to buy the pumpkin from you! My fresh pumpkin just ran out and of course I can't buy another one at the store. I used all of mine that I had frozen and now we all want fresh pumpkin bread, and not with canned pumpkin! Next year, I will do things differently!
Post a Comment